Create a ruleset, add rules with routing conditions, enable them, and activate the ruleset to start routing payments.
To create an empty ruleset:
- In the Unity Portal, go to Merchant setup > Merchant groups.
- Select a merchant group.
- In the Services tab, click Edit next to Smart Routing service.

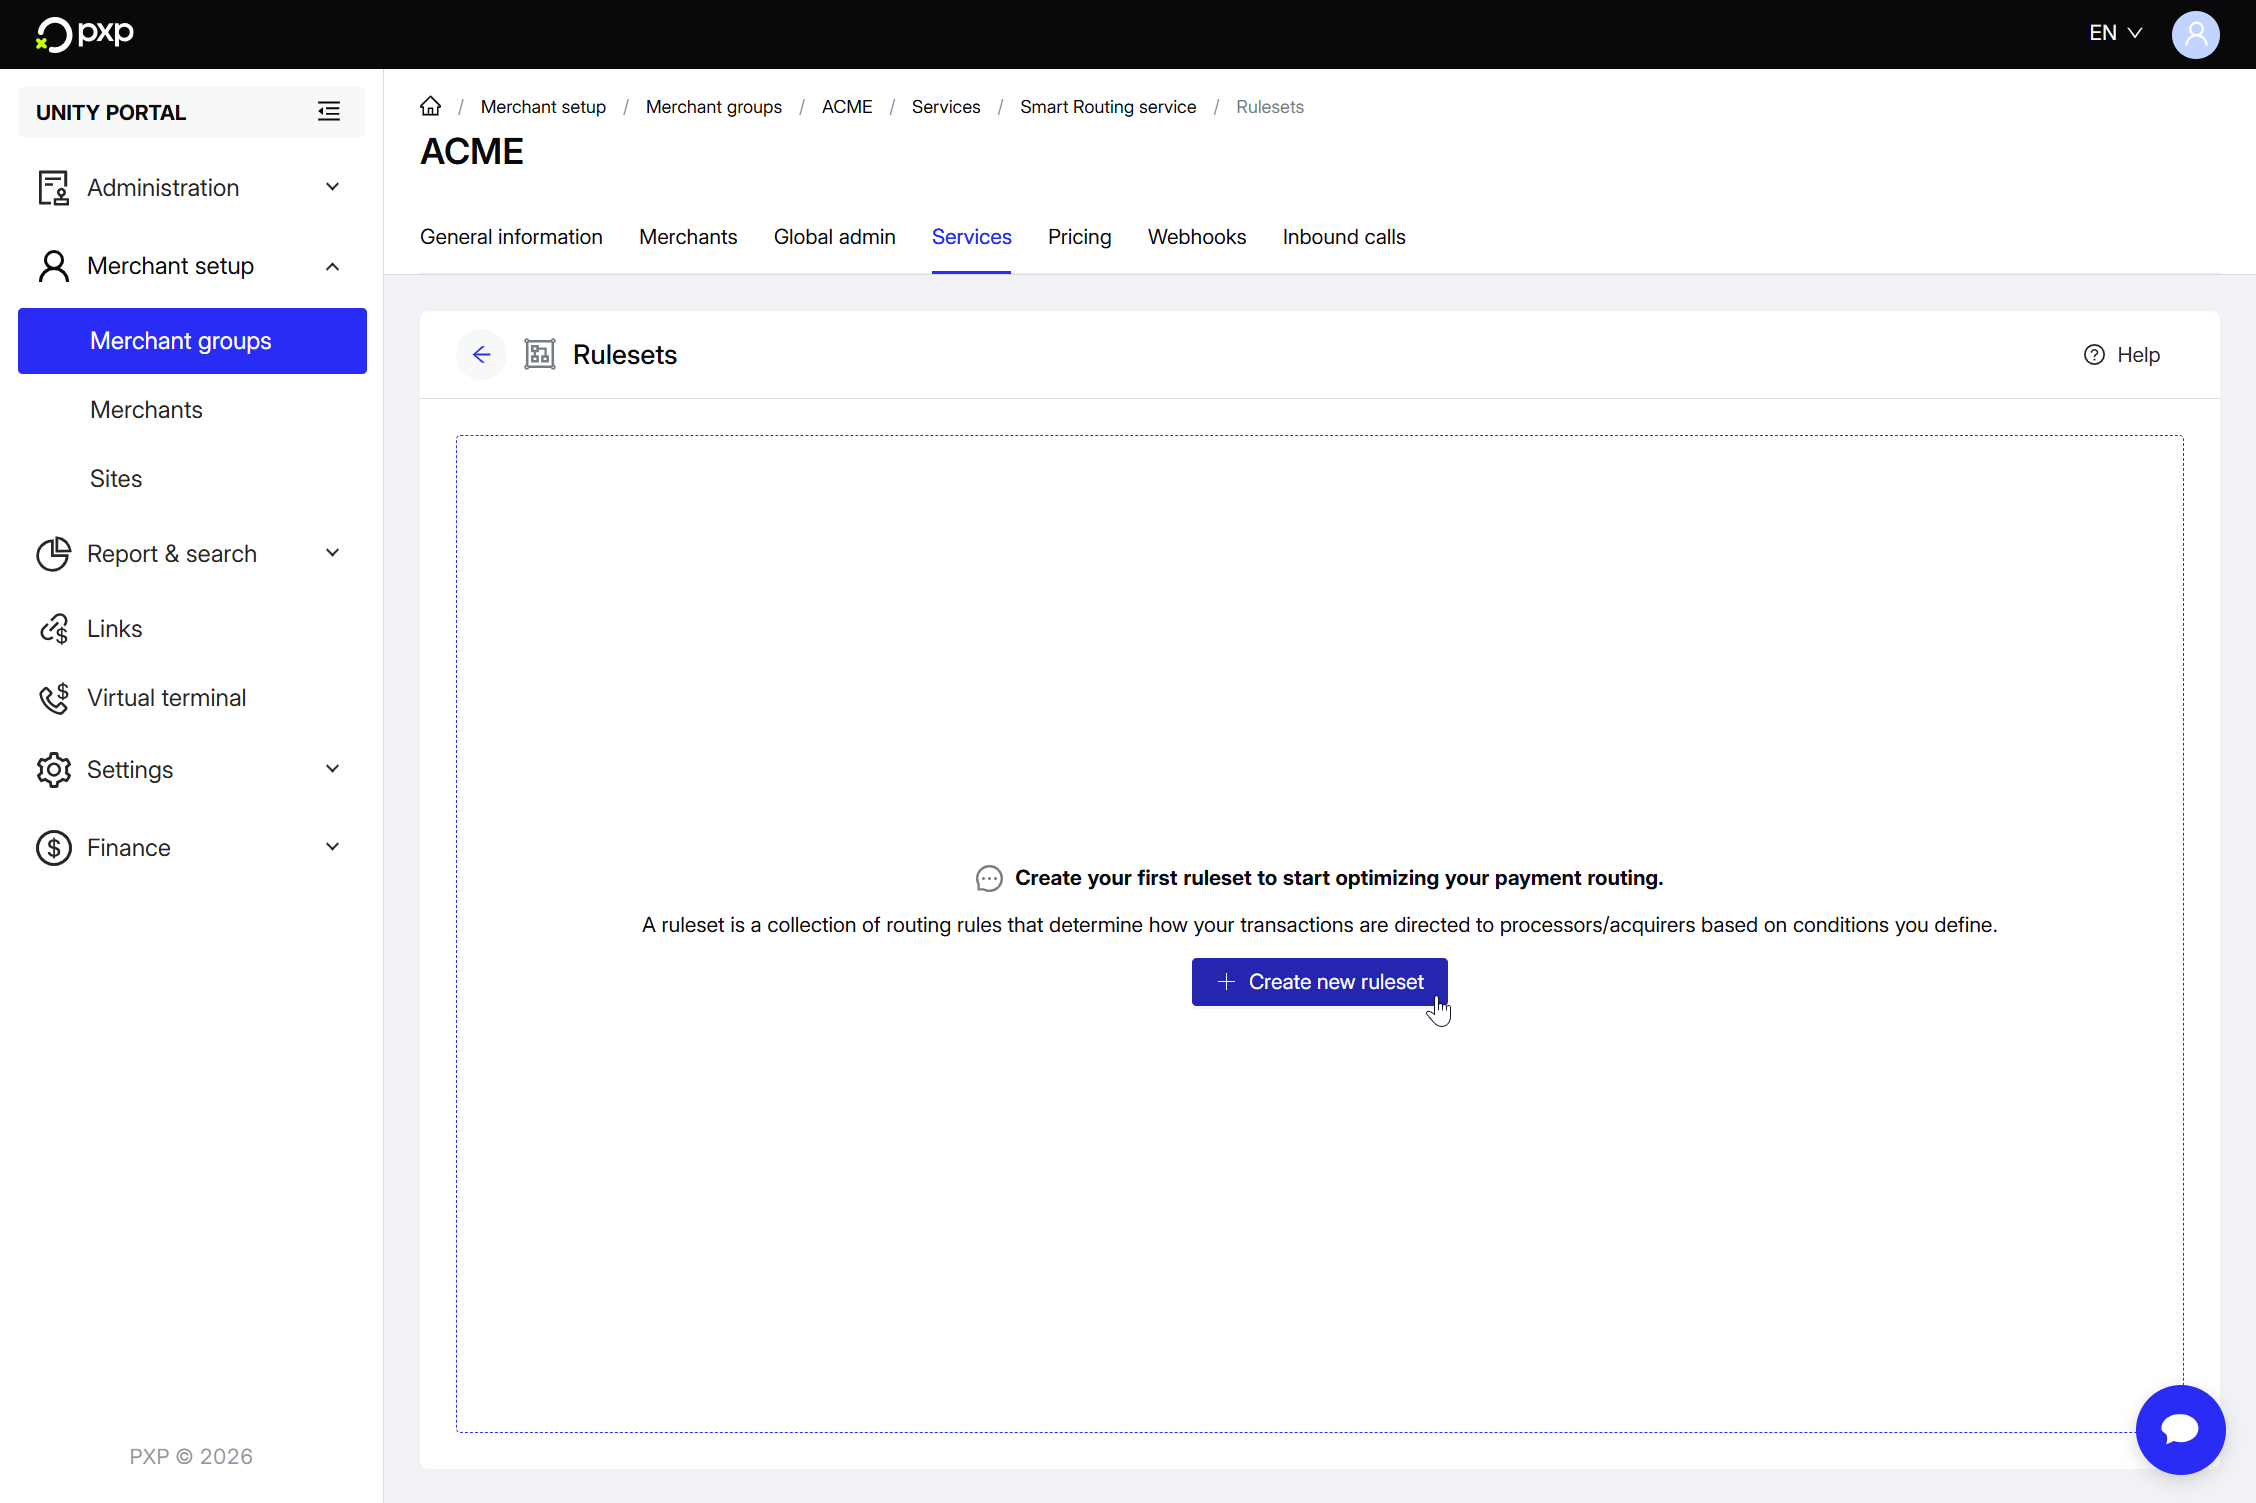
- If this is your first time accessing this page, click Get started in the top right.
- Click the Create new ruleset button.
- The New ruleset modal opens. Enter a unique name for your ruleset and optionally, add a description.
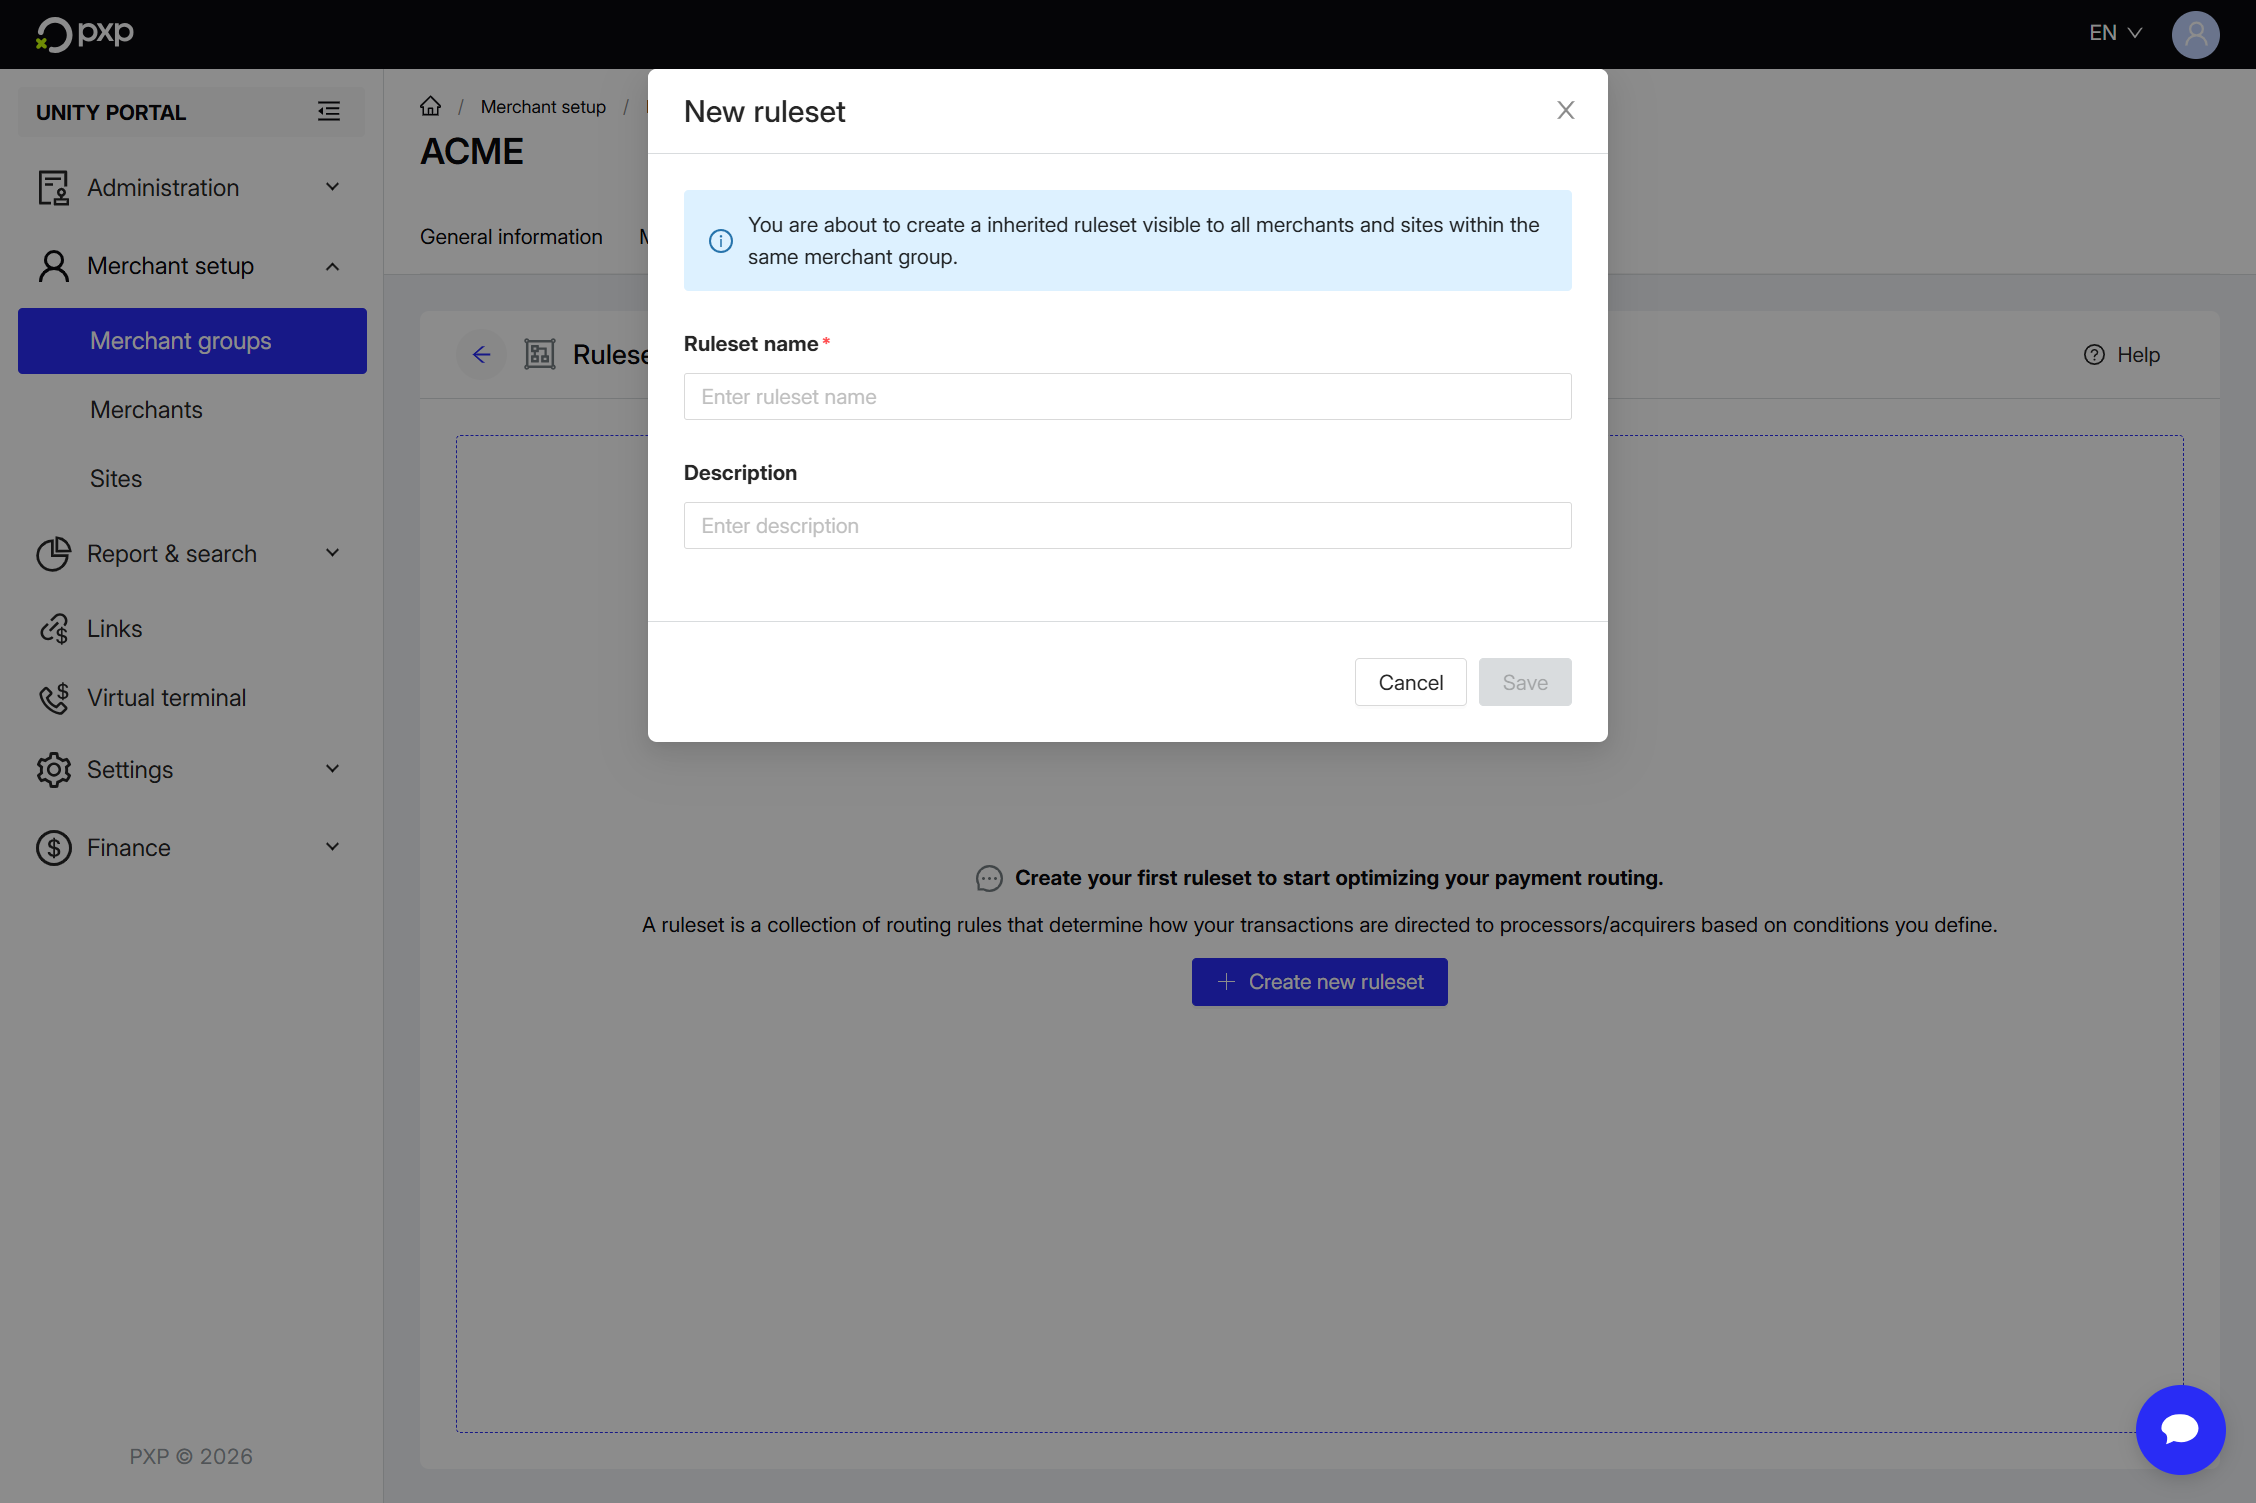
- Click Save to confirm.
Your empty ruleset is created and you're taken to the ruleset configuration screen.
You can also create rulesets at the merchant or site level. Learn more about ruleset inheritance and hierarchy.
You can choose between creating an entirely new rule, or copying an existing one.
To create a new rule:
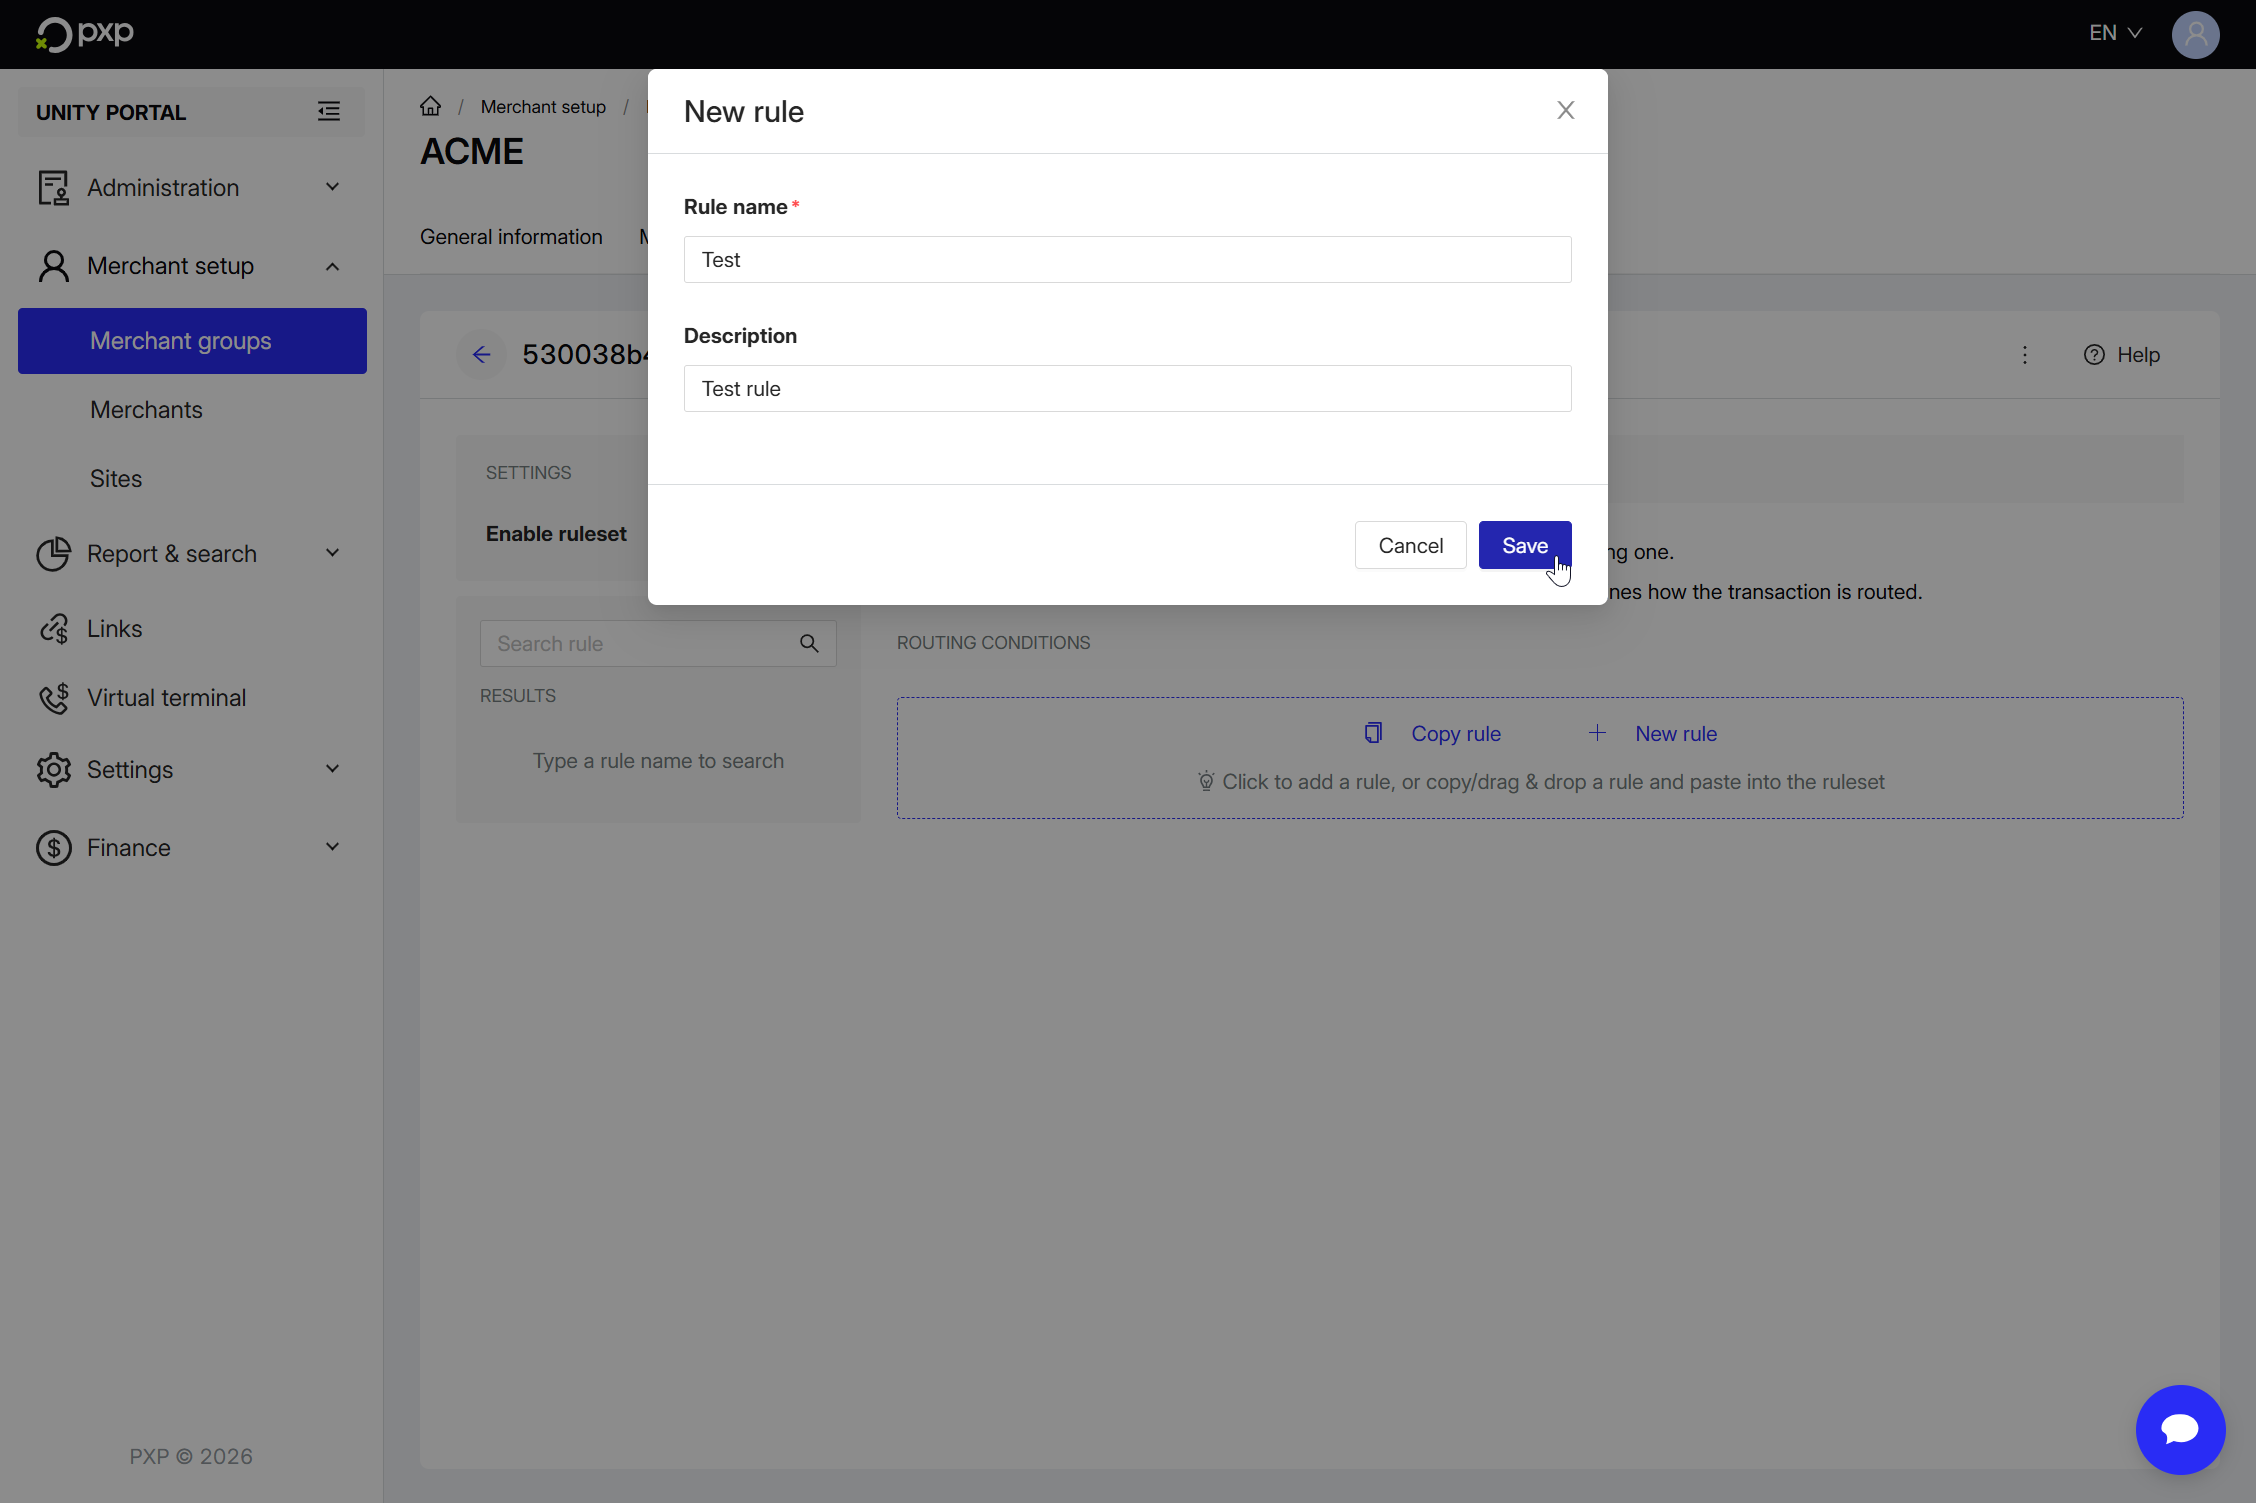
- Click New rule.
- The New rule modal opens. Enter a unique name for your rule and optionally, add a description.
- Click Save to confirm.
- Your empty rule is created and you're taken to the rule configuration screen.This is where you add routing conditions. Start by setting an IF statement:

- Choose the first parameter.
- Choose an operator. The possible operators vary depending on the first parameter.
- Choose a value.
- Next, add a THEN statement:
- Choose a routing strategy:
- Approval rate optimized routing: Select this option to route transactions based on optimised approval rates at the merchant category code and acquirer level.
- Specific processor: Select a processor from the dynamic list. Options available will depend on your contract.
- Volume split: Select this option to split the transaction volume across multiple acquirers. You can then use the drop-down to select your first processor and enter a percentage to allocate to them. Click + Add processor to add another processor and percentage. Options available will depend on your contract.
- Choose a routing strategy:
- Optionally, add a fallback ELSE statement:
- Switch the toggle to ON.
- Choose a routing strategy.
- Optionally, tick the box to split the volume. Note that this isn't available for all routing strategies.
- Click Save, then Save rule again to confirm.
Your rule is created but not yet enabled. You can switch the toggle on the left to ON to enable it now, or do it from the ruleset details screen.
In the ruleset details screen, switch a rule's toggle to ON to enable it if you haven't already. You can enable as many rule as you like. Any rules that are left switched off won't be evaluated.
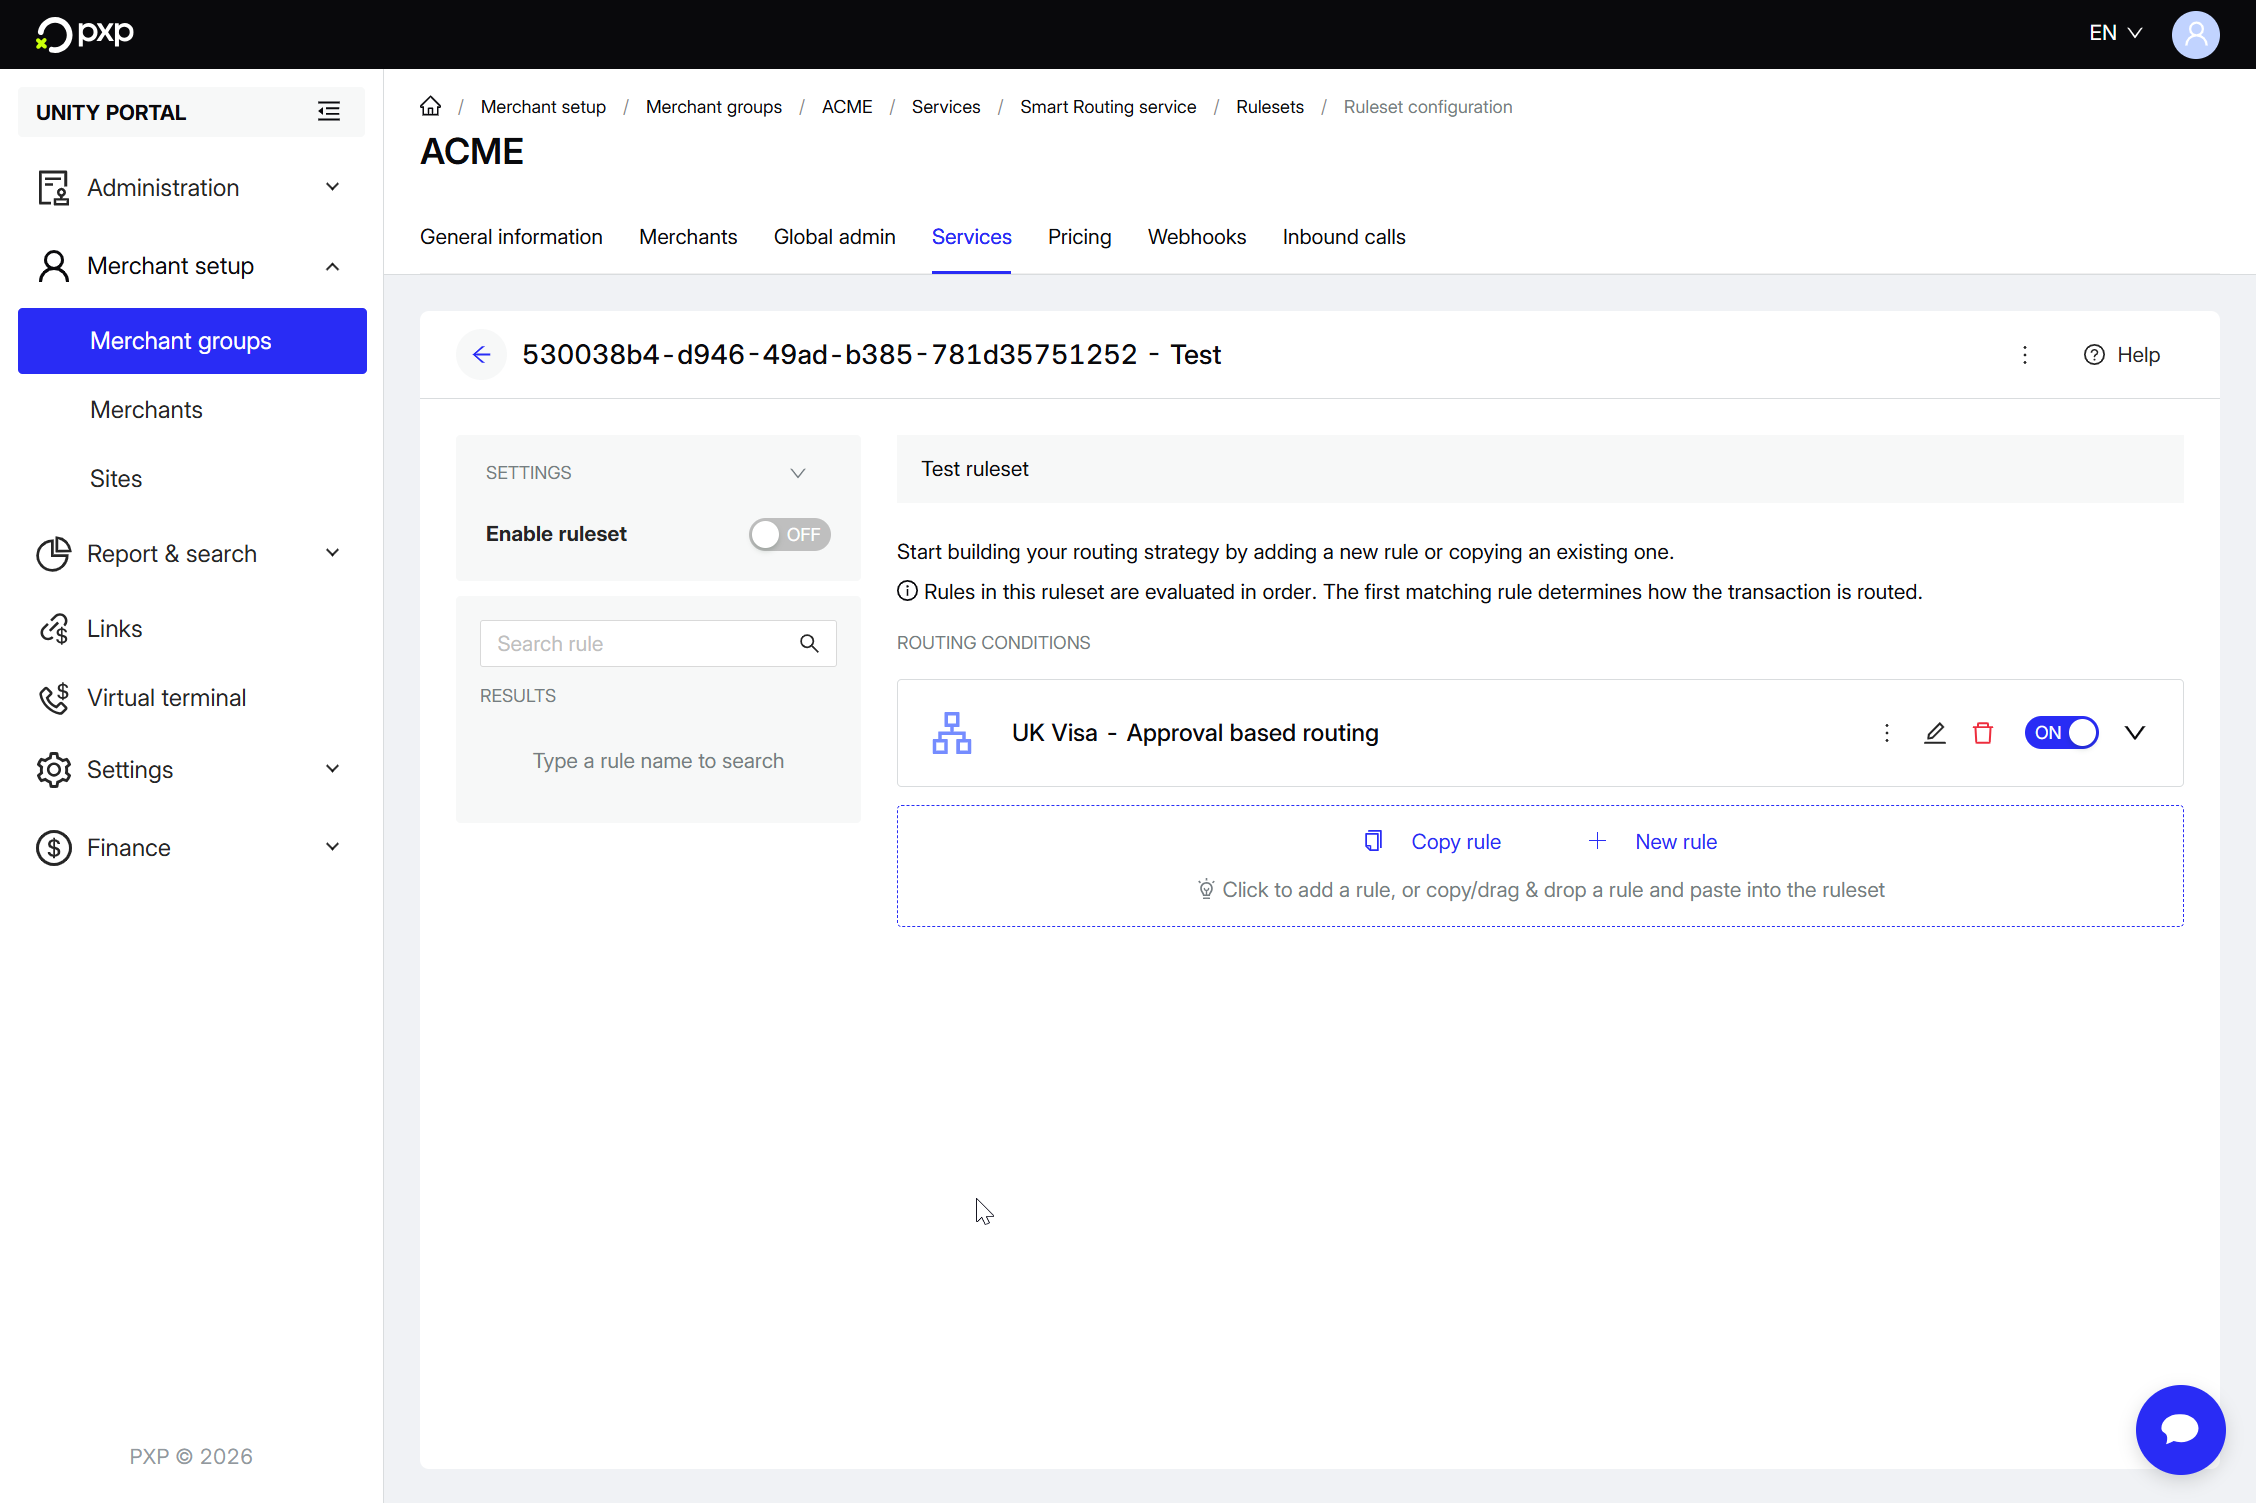
Rules are automatically ordered by creation date, with the newest rule appearing at the top. During evaluation, rules are processed from oldest to newest.
Your changes are automatically saved.
- Still in the ruleset details screen, switch your ruleset's Active toggle to on.
- In the Enable ruleset window, enter a descriptive reason.
- Click Enable ruleset. A success message is displayed at the top of your screen.

The ruleset is now active and used to route your payments.