Receive details about customer interactions on your POS device, in real-time.
This feature is available for S1F2, S1F4 Pro, and S1P2 devices.
By activating the Return status packets feature, you can receive details about customer interactions that take place on the device. This means you can find out exactly where the customer is on the payment journey and can assist with any issues, without having to look at the POS device.
Once configured, you'll receive status updates to your chosen webhook URL in the following format:
{
  "statusUpdate": {
    "deviceIsDisplaying": "PinOk",
    "customerInteraction": "None",
    "merchantTransactionId": "POS_001",
    "eventId": "41b43c87-59c0-4b2e-9e10-09f939a5860c"
  }
}| Parameter | Description |
|---|---|
statusUpdateobject | Details about the status update. |
statusUpdate.deviceIsDisplayingstring (enum) | The screen displayed on the device. Possible values:
|
statusUpdate.customerInteractionstring (enum) | The interaction that the customer had with the device. Possible values:
|
statusUpdate.merchantTransactionIdstring | The unique identifier for this transaction, as assigned by you. |
statusUpdate.eventIdstring (UUID) | The unique identifier associated with this event. |
The following table describes the possible device display statuses.
| Display status | Displayed... | Screenshot |
|---|---|---|
InsertTapOrSwipeCard | When transactions are initiated on a device configured for insert, tap, or swipe transactions. |  |
EnterPin | When the customer enters their PIN for the first time. | 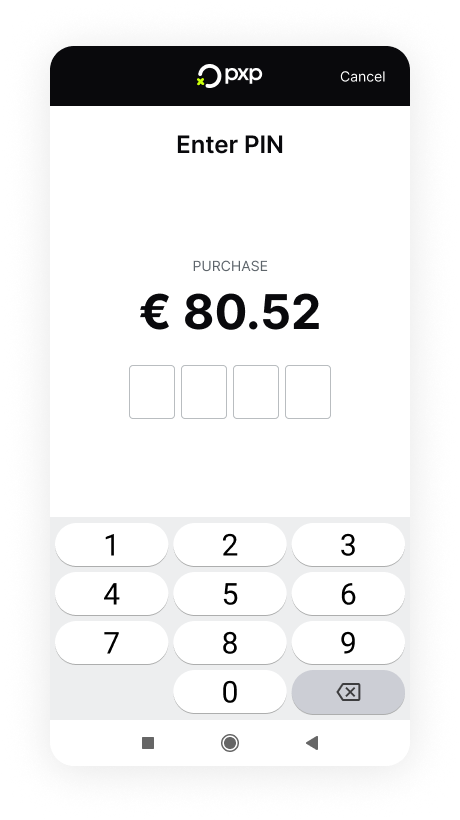 |
PinOk | After verifying the offline PIN successfully. | |
ChooseDcc | When allowing the customer to select a currency. | 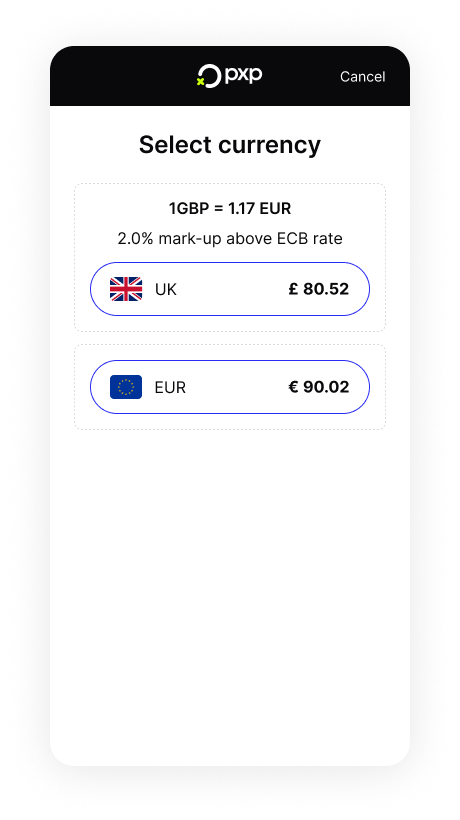 |
RemoveCard | When prompting the customer to remove their card. | 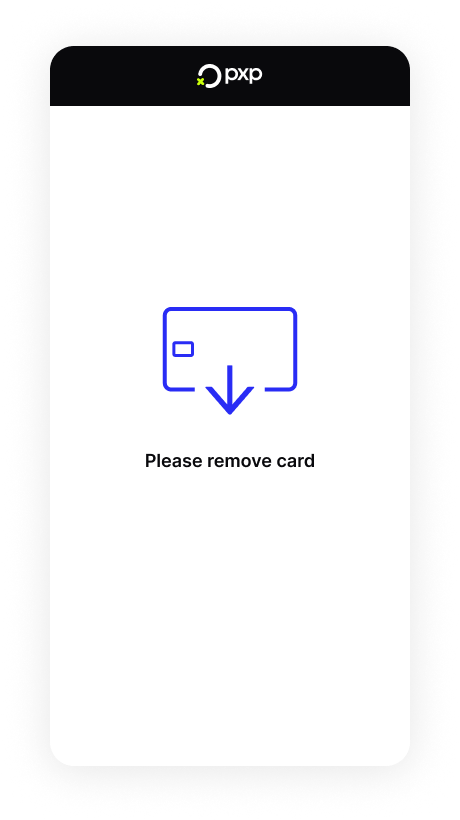 |
ProcessingTransaction | When the transaction is being processed. | 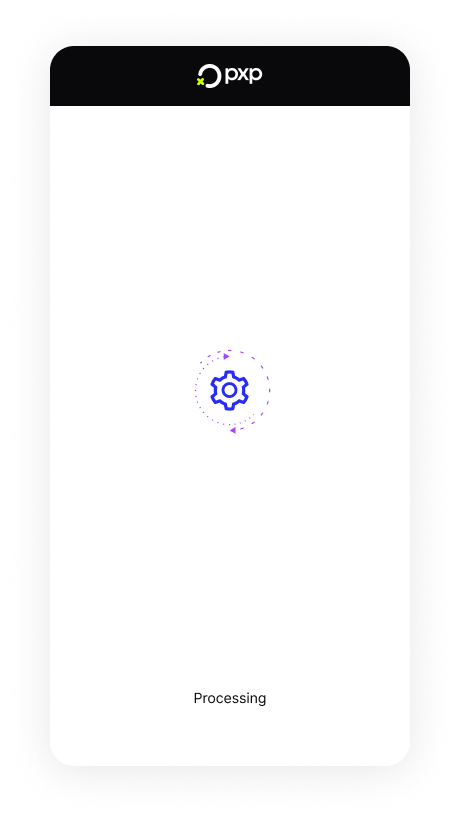 |
SwipeCard | When the customer swipes their card for the first time. | 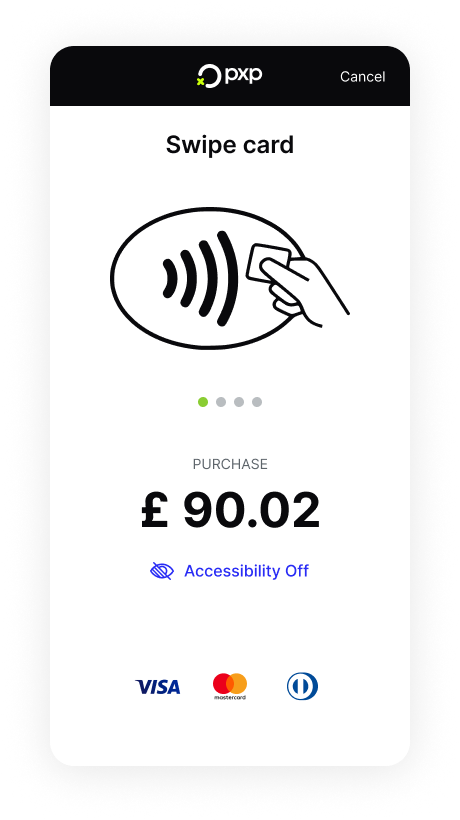 |
ReSwipeCard | After swiping the card failed. | 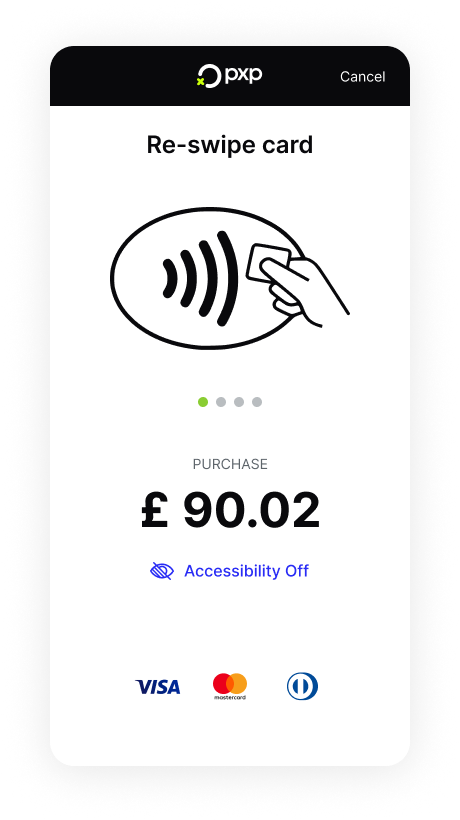 |
InsertCard | When the customer inserts their card for the first time. | 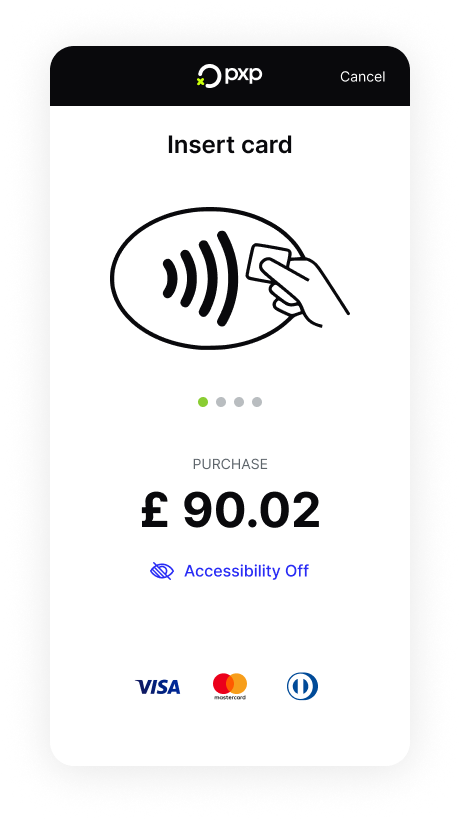 |
AppSelection | When using a card supporting multiple applications on one device. | 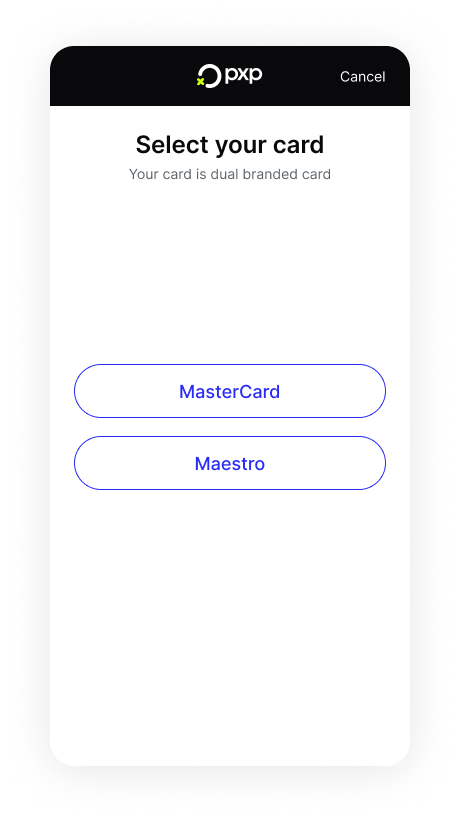 |
EnterCardInfo | When manual card entry is required. | 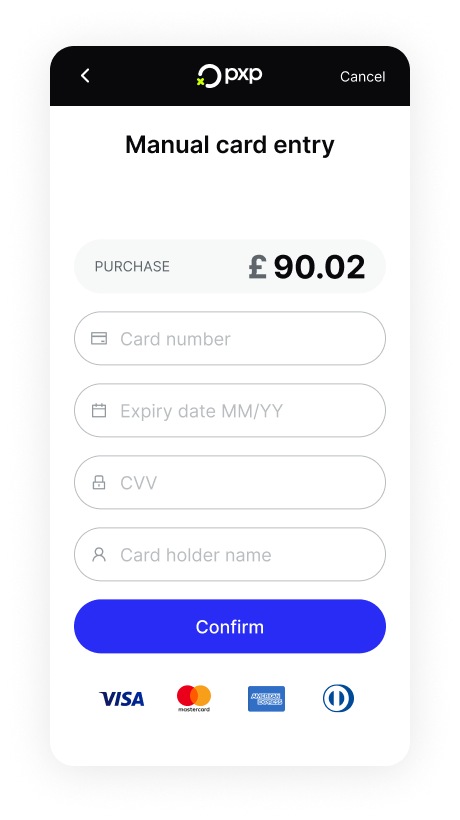 |
RetryEnterPin | After verifying the offline PIN failed for the first time. |  |
LastEnterPin | After verifying the offline PIN failed for the second time. | |
PinEntryFailed | After verifying the online PIN failed. | N/A. This a result from the device with no specific display screen. |
TransactionCancelledByShopper | When the transaction is cancelled using the Cancel button. | N/A. This a result from the device with no specific display screen. |
PosError | When an exceptions occurs while using the POS device. | N/A. This a result from the device with no specific display screen. |
InsertOrTapCard | When transactions are initiated on a device configured only for insert and tap transactions. |  |
SwipeOrTapCard | When transactions are initiated on a device configured only for swipe and tap transactions. |  |
AuthorisingTransaction | When the transaction is being authorised. |  |
PaymentCompleted | When the payment is completed. |  |
GratuitySelection | When the customer is prompted to add a gratuity. | 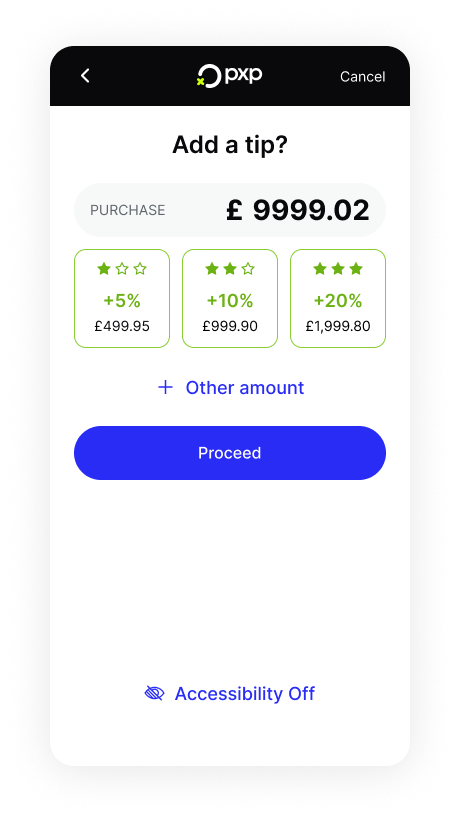 |
CardRemovedTimeout | When the card hasn't been removed, but has already timed out. | N/A. This a result from the device with no specific display screen. |
To add a status packet URL that updates will be sent to:
- In the Unity Portal, go to Merchant setup > Sites.
- Select the site associated with the device.
- In the Services tab, find the Pos service and click Edit.
- Click General settings.
- Under Host URLs, enter a Status Packet URL.
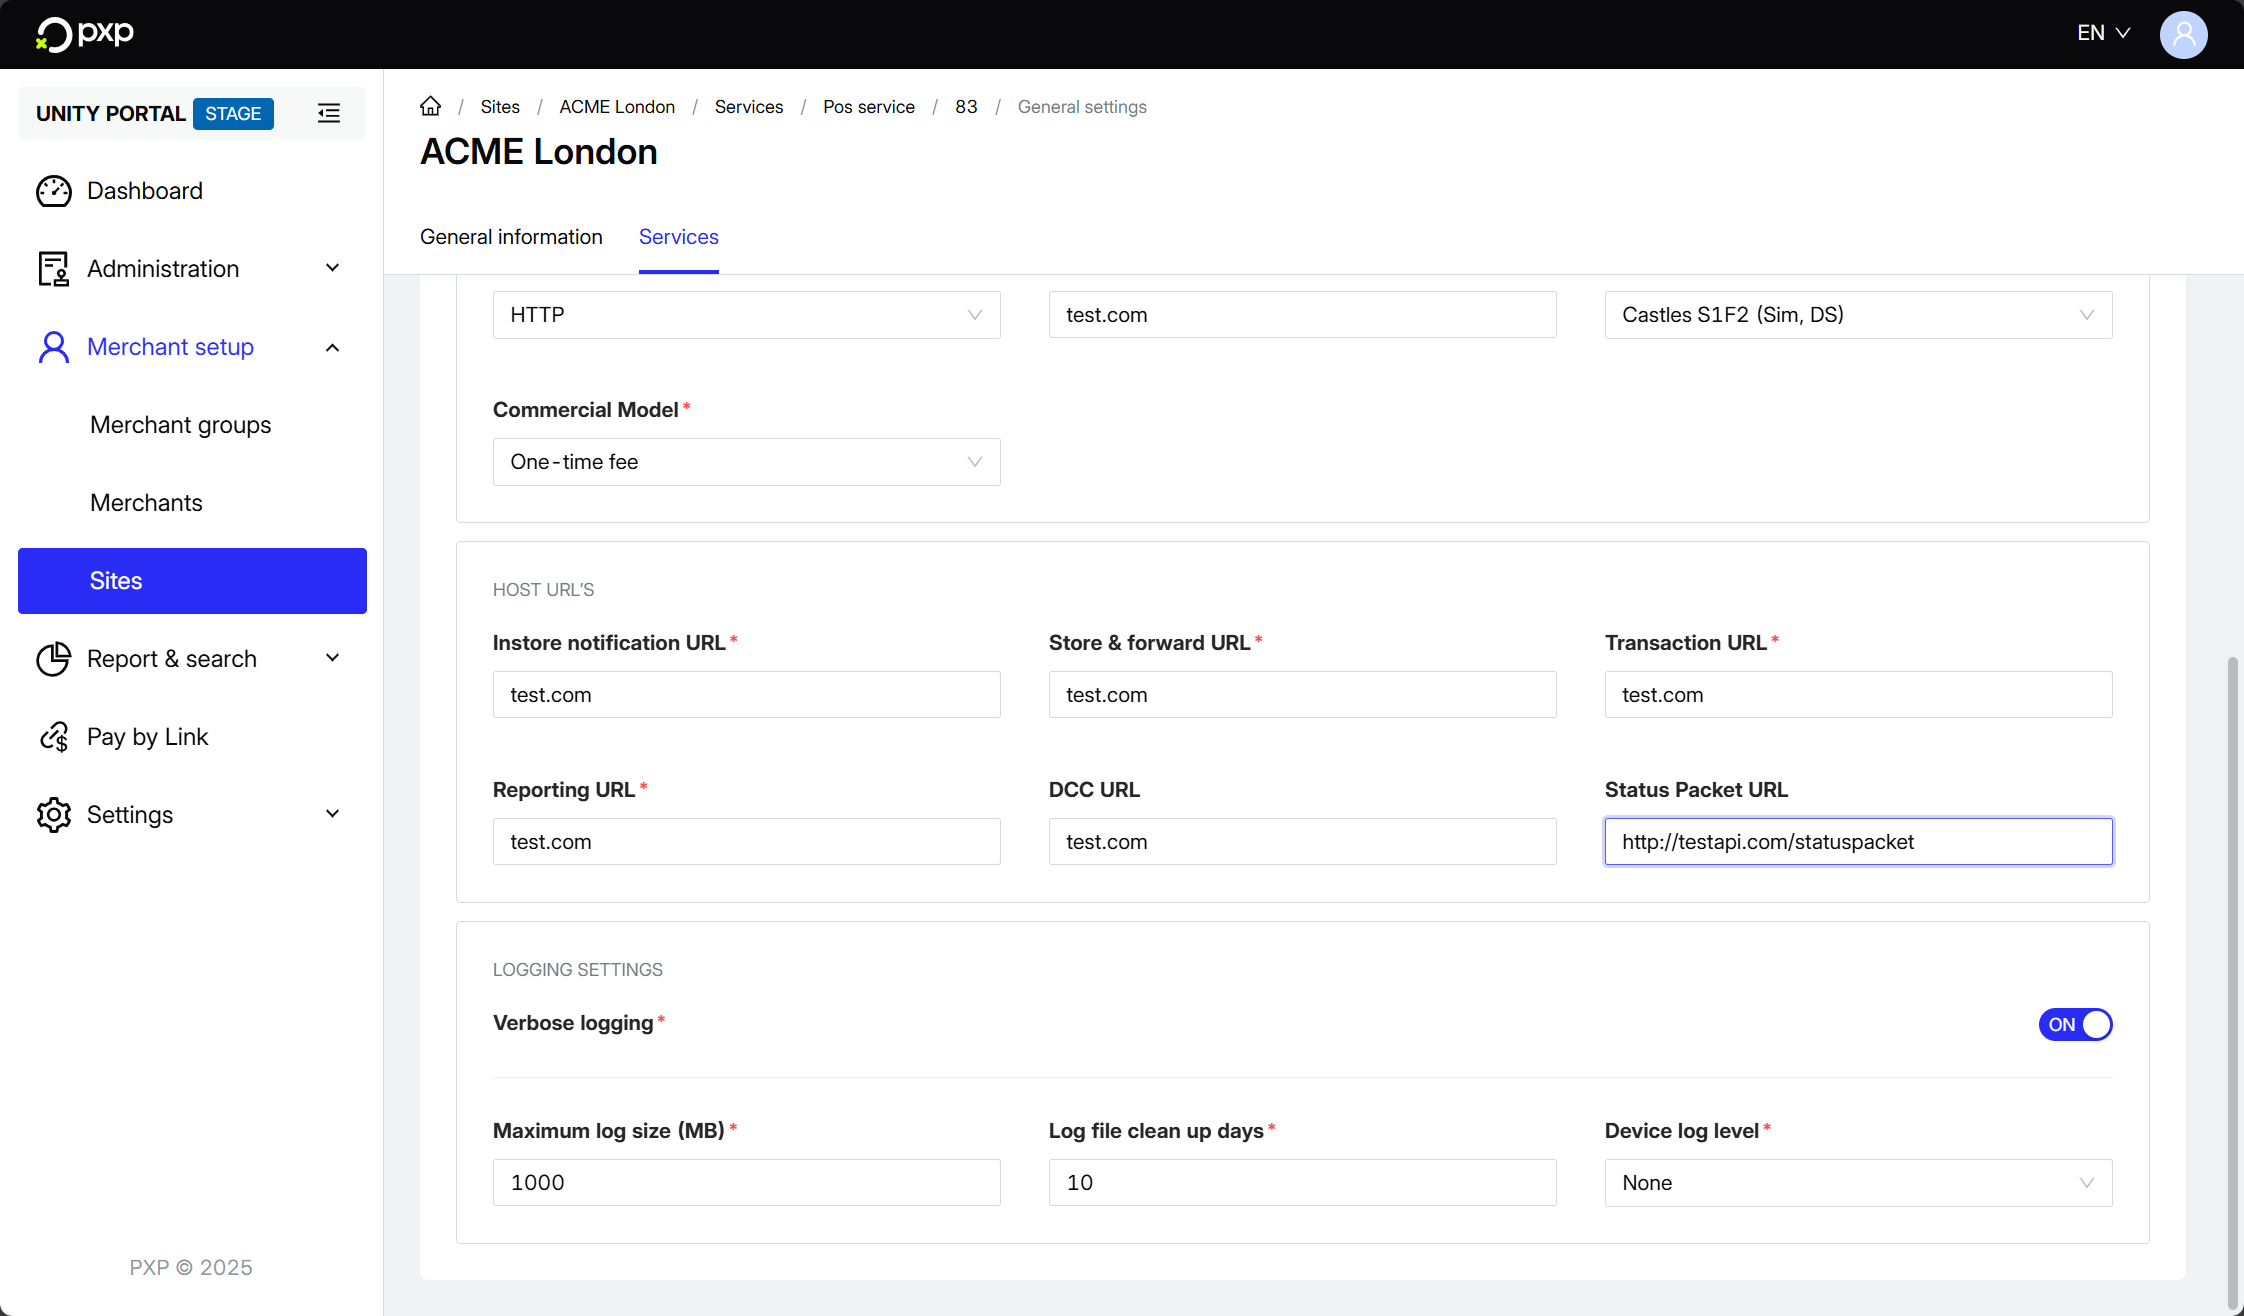
- Click Save in the top right.
Your status packet URL is now configured and you're ready to activate the feature.
You can override the status packet URL configured in the Unity Portal by including the statusCallbackUrl parameter in your API request when initiating a transaction or modification. This allows you to use different webhook URLs for specific transactions. For more information, see the API reference.
To activate the feature for a specific device:
- In the Unity Portal, go to Merchant setup > Sites.
- Select the site associated with the device.
- In the Services tab, find the Pos service and click Edit.
- Click on the device that you want to activate the feature for.
- Click Feature settings.
- Under General, switch the Return status packets toggle on.
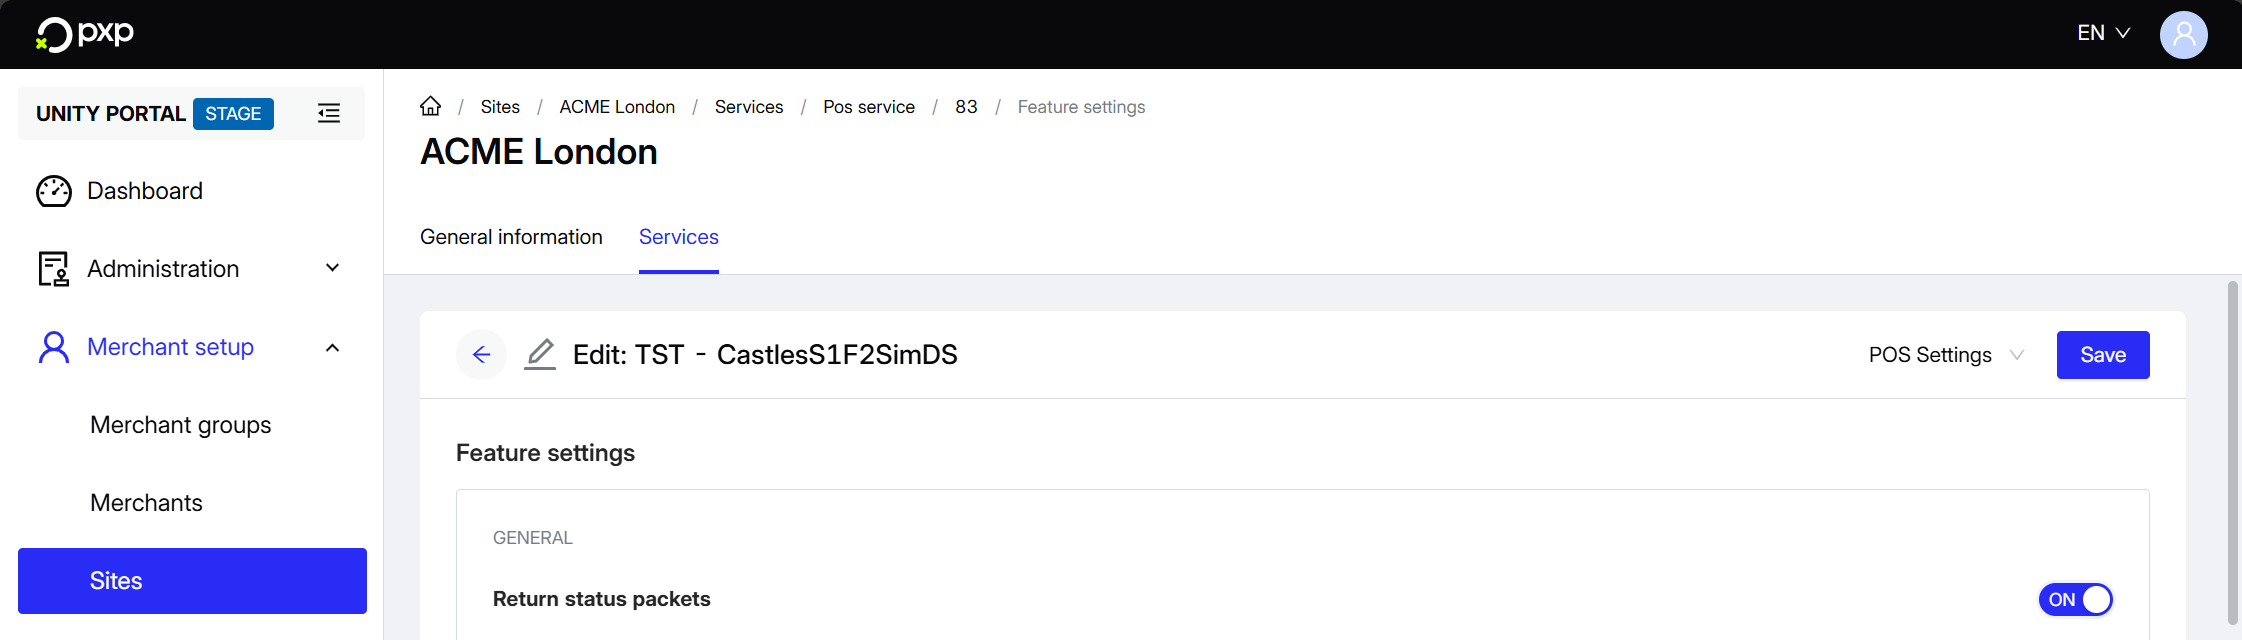
- Click Save in the top right.
The feature is now active for this device. You'll start receiving status updates to your configured status packet URL.