Customise how your payment links appear to customers, with consistent branding across all links.
- In the Unity Portal, go to Merchant setup > Sites.
- Select a site.
- In the Services tab, click Edit next to Links service.
- Click on Branding.
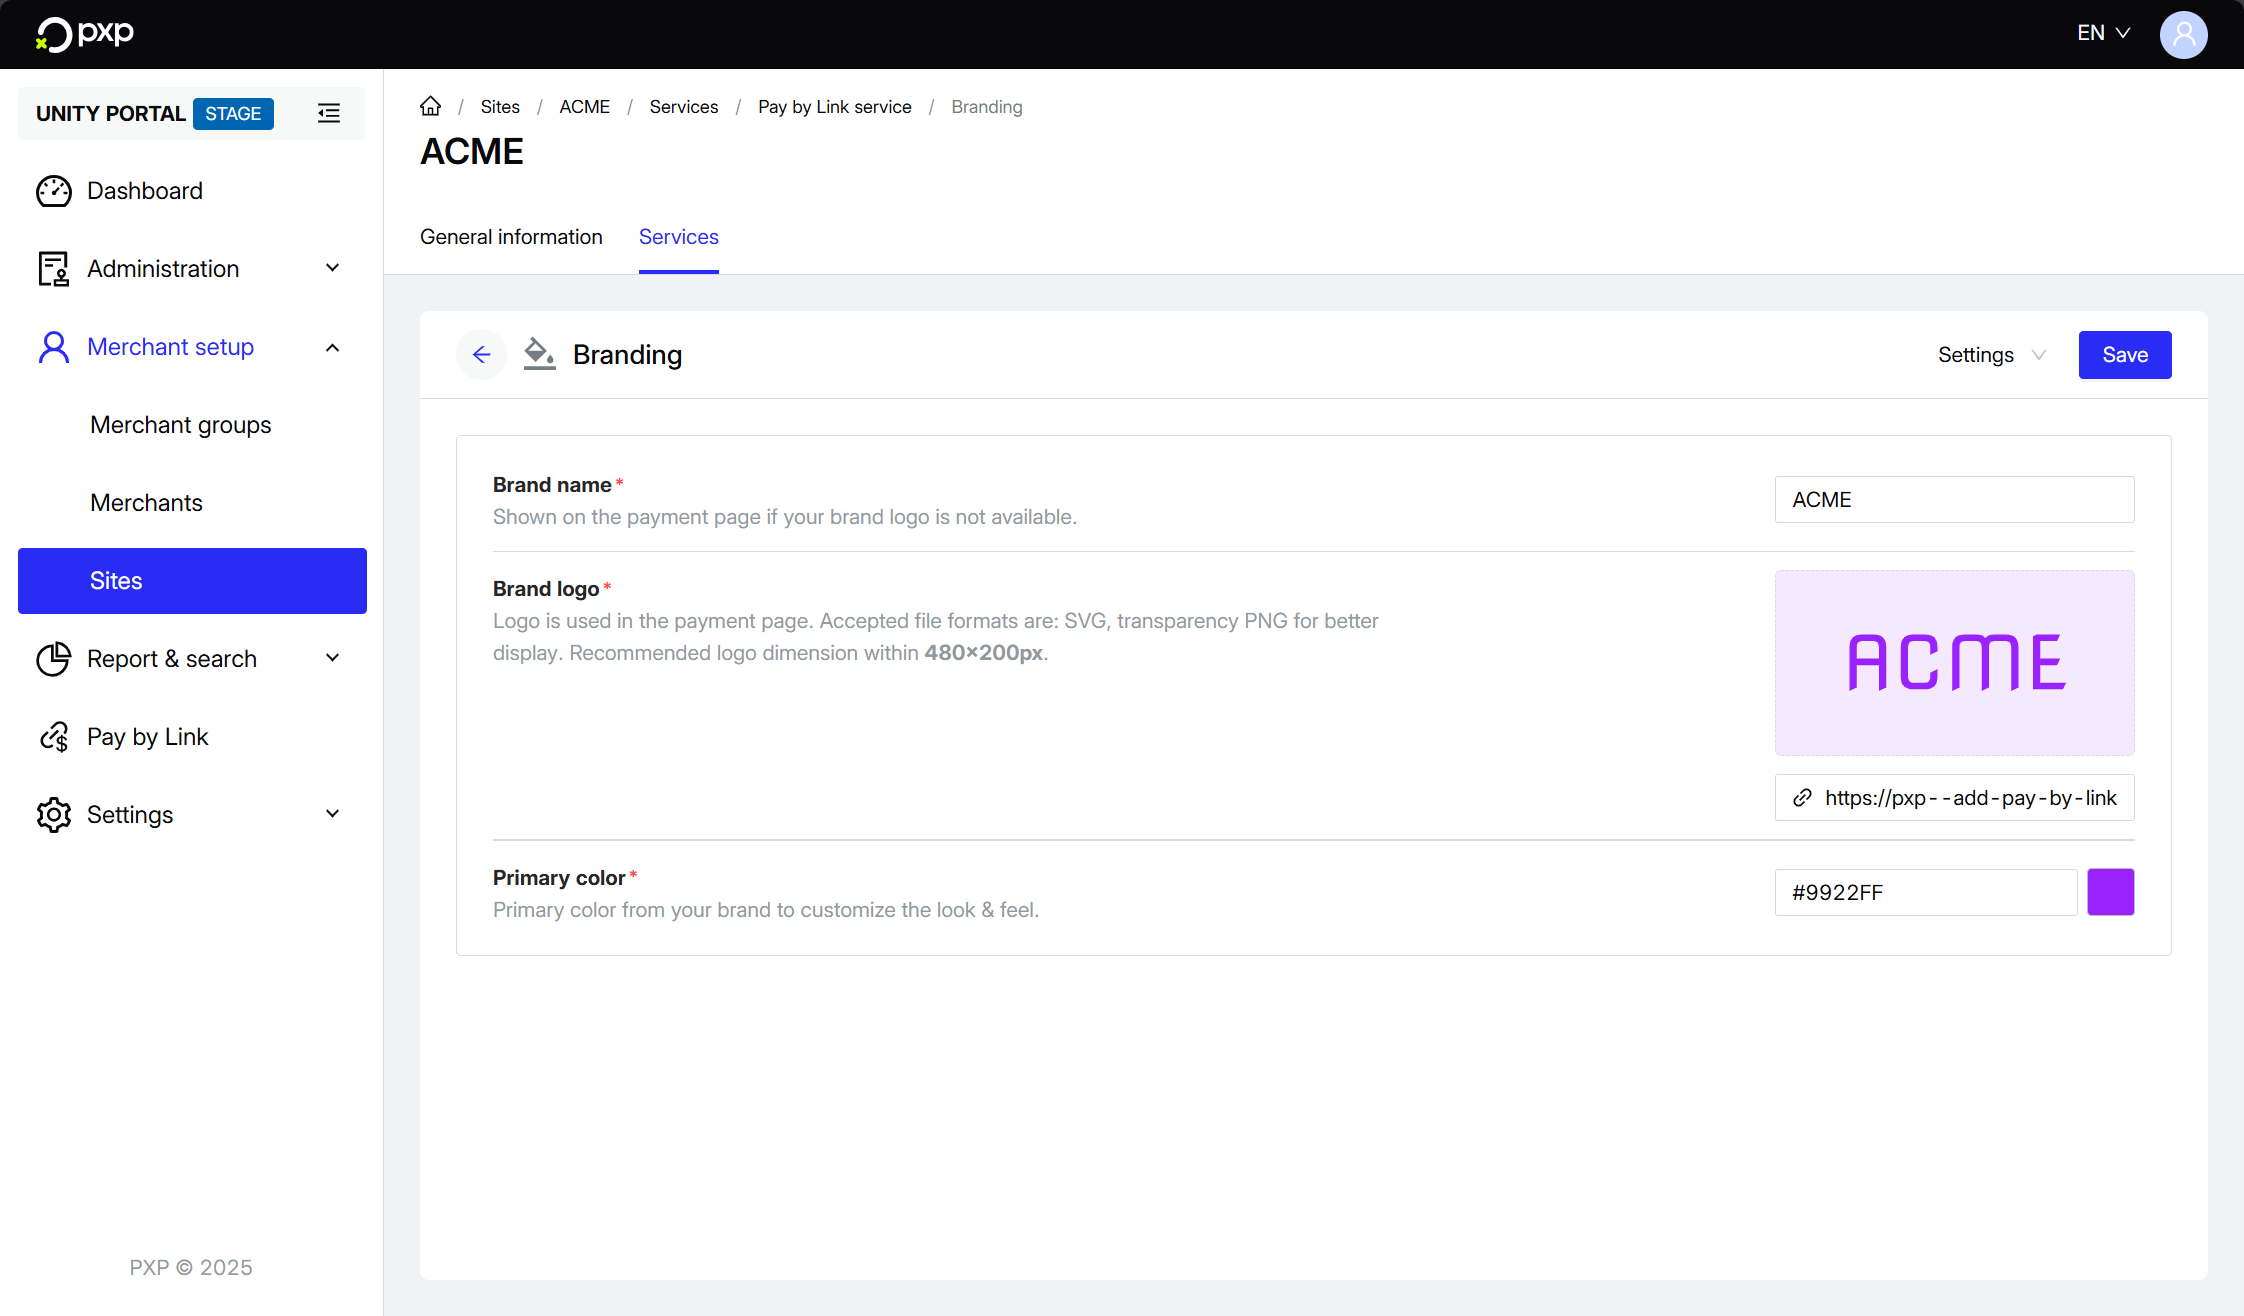
- Configure your brand elements:
- Brand name: Enter your business name as you want it displayed. This appears on the payment page header if no logo is provided.
- Brand logo: Provide a direct URL link to your logo image in SVG or PNG format (with transparency for better display). We recommend a size of 480x200px. Note that you can't upload files directly; it must be a web URL.
- Primary color: Enter your brand's colour in HEX format (e.g.,
#F6A000) or use the colour picker. This colour will be used for buttons and accents.
- Click Save to update your branding.
Your branding is applied to all existing links and will automatically apply to any new ones.
- Use high-quality logos with transparent backgrounds.
- Ensure your primary colour provides good contrast for readability.
- Test how your branding looks on both desktop and mobile devices.